Now that you have an awesome game, you may want to distribute it to others. You can package your game using pyinstaller. There are some modifications we need to make to the directory structure for the packaging to work correctly!
This document walks you through how to:
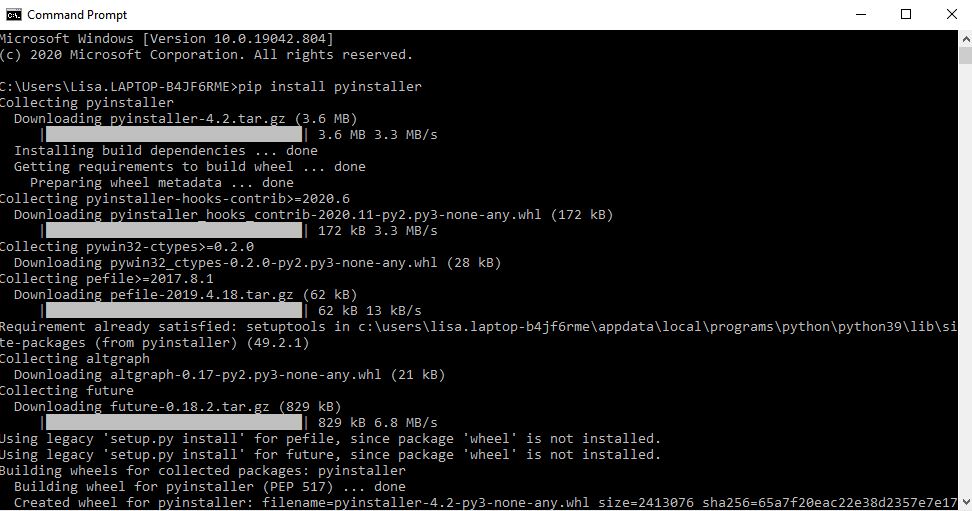
Open the command prompt on your system and enter the following command:
pip install pyinstaller
All assets (sound and graphics) should be moved into a single folder that you can name data
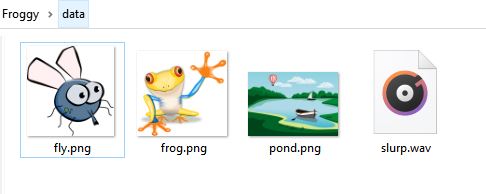
In your python classes and files, you will need to change the paths to the assets to ONLY use the data folder.
In the settings.py file, I changed the paths to:
In the frog.py file, I changed the image path to:
In the fly.py file, I changed the image path to:
To make sure everything still worked, I set the folder in VSCode to Froggy, which is the folder that contains all the game files, and then I ran the game.
At this point, go into the command prompt and navigate to your game folder (in my case, I had to navigate to the froggy folder) I used the cd (change directory) command as shown below:
cd Documents
cd CIT228
cd Froggy
Once you are at the correct location, you need to issue the following command with the --onefile and --noconsole parameters
pyinstaller froggy_main.py --onefile --noconsole
Your main program file is the one you need to target in the command. This is the file you run your game from. In the example, froggy_main.py is the main file. The --onefile parameter puts all the code into one file which is what you want; otherwise, the number of files generated is unweildy and there is no need for you to open them or look at them. The --noconsole parameter prevents the terminal from displaying in the background when the game runs (by default a black console window displays separate from the game).
Example:

The output from the command is quite lengthy, at the bottom you should see something like:
10483 INFO: Updating manifest in C:\Users\Lisa.LAPTOP-B4JF6RME\Documents\CIT228\Froggy\build\froggy_main\runw.exe.e5j9t1pf
10484 INFO: Updating resource type 24 name 1 language 0
10489 INFO: Appending archive to EXE C:\Users\Lisa.LAPTOP-B4JF6RME\Documents\CIT228\Froggy\dist\froggy_main.exe
10498 INFO: Building EXE from EXE-00.toc completed successfully.
At this point, your game is packaged and you have an executable. The next step is finding the executable and copying your data folder.
For the game to run, the data folder needs to be in the same directory as the game.
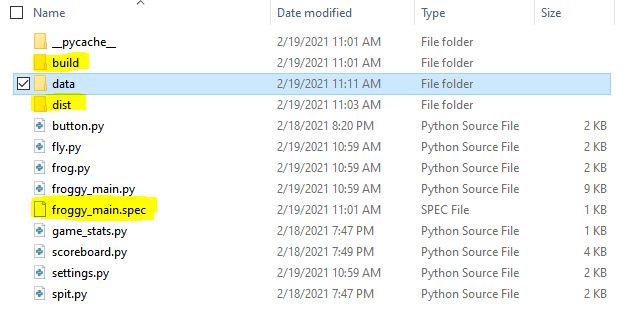
After you package the game, you will see 2 new folders and 1 new file in your game directory:
Example:
To run the game as an executable, complete the following:
1. Copy your data folder
2. Open the dist folder (you should see the executable game)
3. Paste your data folder inside the dist folder
Example:
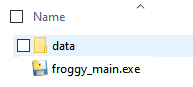
4. Double click the executable and run your game.
NOTE: If something isn't working, then go back into VSCode and run the game making sure the Game folder is the active folder (the problem should show up in VSCode). It is usually a directory structure issue - if it cannot find the graphics or sound files, it cannot run the game.
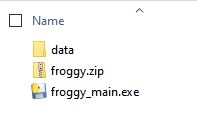
5. If everything works, select the data folder and game, right click, select Send To and then select Compressed(zipped) folder
Example: